These days many people are seen to take up this project of tile installation at their own. Though this installation process is quite easy but if you are new in this field, you may have to face some trouble in the initial stage. This is why; in this write-up we have shared some useful tips for the novice installers. Hope they will find this content to be a helpful guide and by following the suggestions, you can easily be able to do the task in an easy way.
Surface preparation- Ceramic tile mainly get installed over solid substrates. Before the installation, you need to make sure that the surface on which it is going to get placed is well-cleaned, dry, smooth and free of wax, grease and soap scum. If you ever find any damaged and uneven areas there, you should immediately do something to make it repaired, patched and leveled. Before getting started you should also keep away all the unnecessary equipment from that specific area, which may disrupt the work. Sometimes, door jambs also need to be undercut for the tiles to slip under.
Layout- While tiling the tubs, shower areas and walls, start from the center point of the wall. Align the tiles across the lowest part of the wall from the center point. Placement of the tile should be done is such a way so that no one can see any space in between them. If this layout is seen to leave small cuts then you are needed to adjust the plumb center line a bit much closer to the side wall. However, for floor layout and countertop layout different specific strategies need to be adopted.
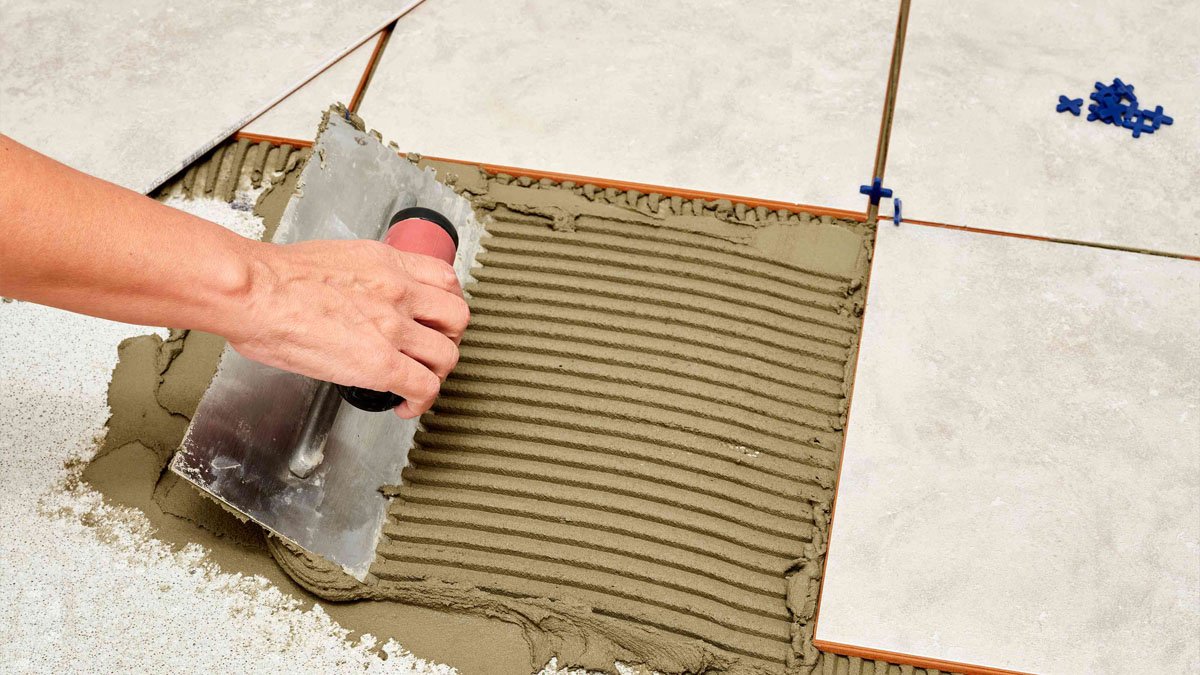
Tile Setting- Variation of texture and shade is considered to be inherent characteristic of ceramic tiles. Now, if you want to get blended effect, you can collect tiles from numerous cartons. Thereafter select the right adhesive and before using, read all instructions that remain mentioned on the package. This is because; you can only expect to do the right mixing following those instructions.
Usually after determining the appropriate glue, tile setting project gets started. First start working outward. Set tiles one at a time through a slight twisting motion. Insert the tile spacers or cautiously leave equal joints between the tiles.
You should continue this process until all the tiles within the grid get set. While doing this work you should always ensure a level plane and good bond. Remove any excess glue from joints through the use of putty knife.
Each grid needs to be installed in the right way and should be placed within the layout grid lines for a fruitful overall installation.
Grouting Joints- The tile always need to be well-set so that it can prevent bond breaking. You should wait for at least a day before grouting. Though you are free to choose the grout color, but in order to get the best result, you need to select the color, which will go well with your tile. To know the rest regarding tile installation, keep visiting us.